How to upload an exercise
The Rehab Lab allows you to create your own exercises, complete with your own images. It is a quick and easy process, to upload your own exercise login to The Rehab Lab and follow these simple steps:
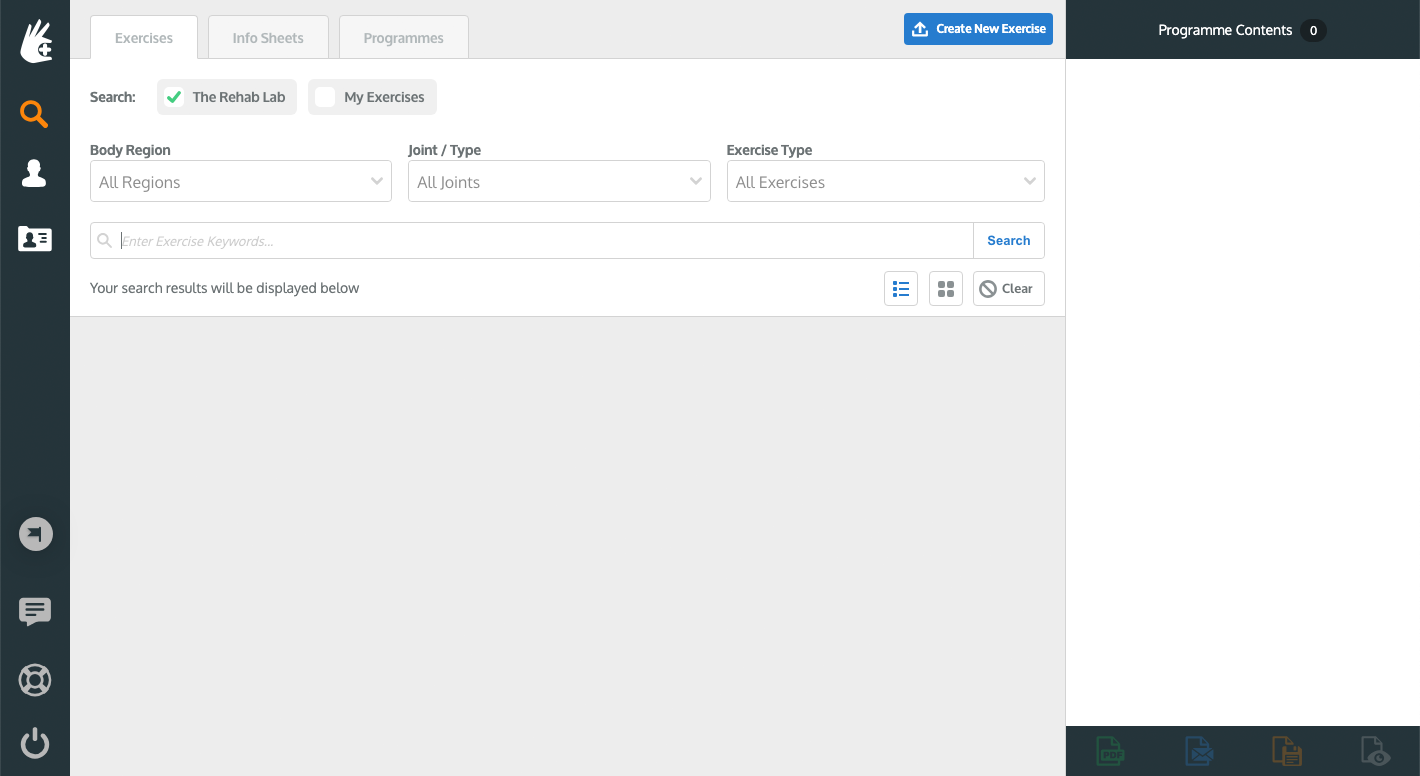
1. Locate the UPLOAD NEW EXERCISE button
When you first log into The Rehab Lab, you will see the main SEARCH SECTION. Locate and click the blue UPLOAD NEW EXERCISE button.
2. Upload your exercise
Clicking the UPLOAD NEW EXERCISE button will open the ADD CUSTOM EXERCISE window, where you can then enter your exercise details.
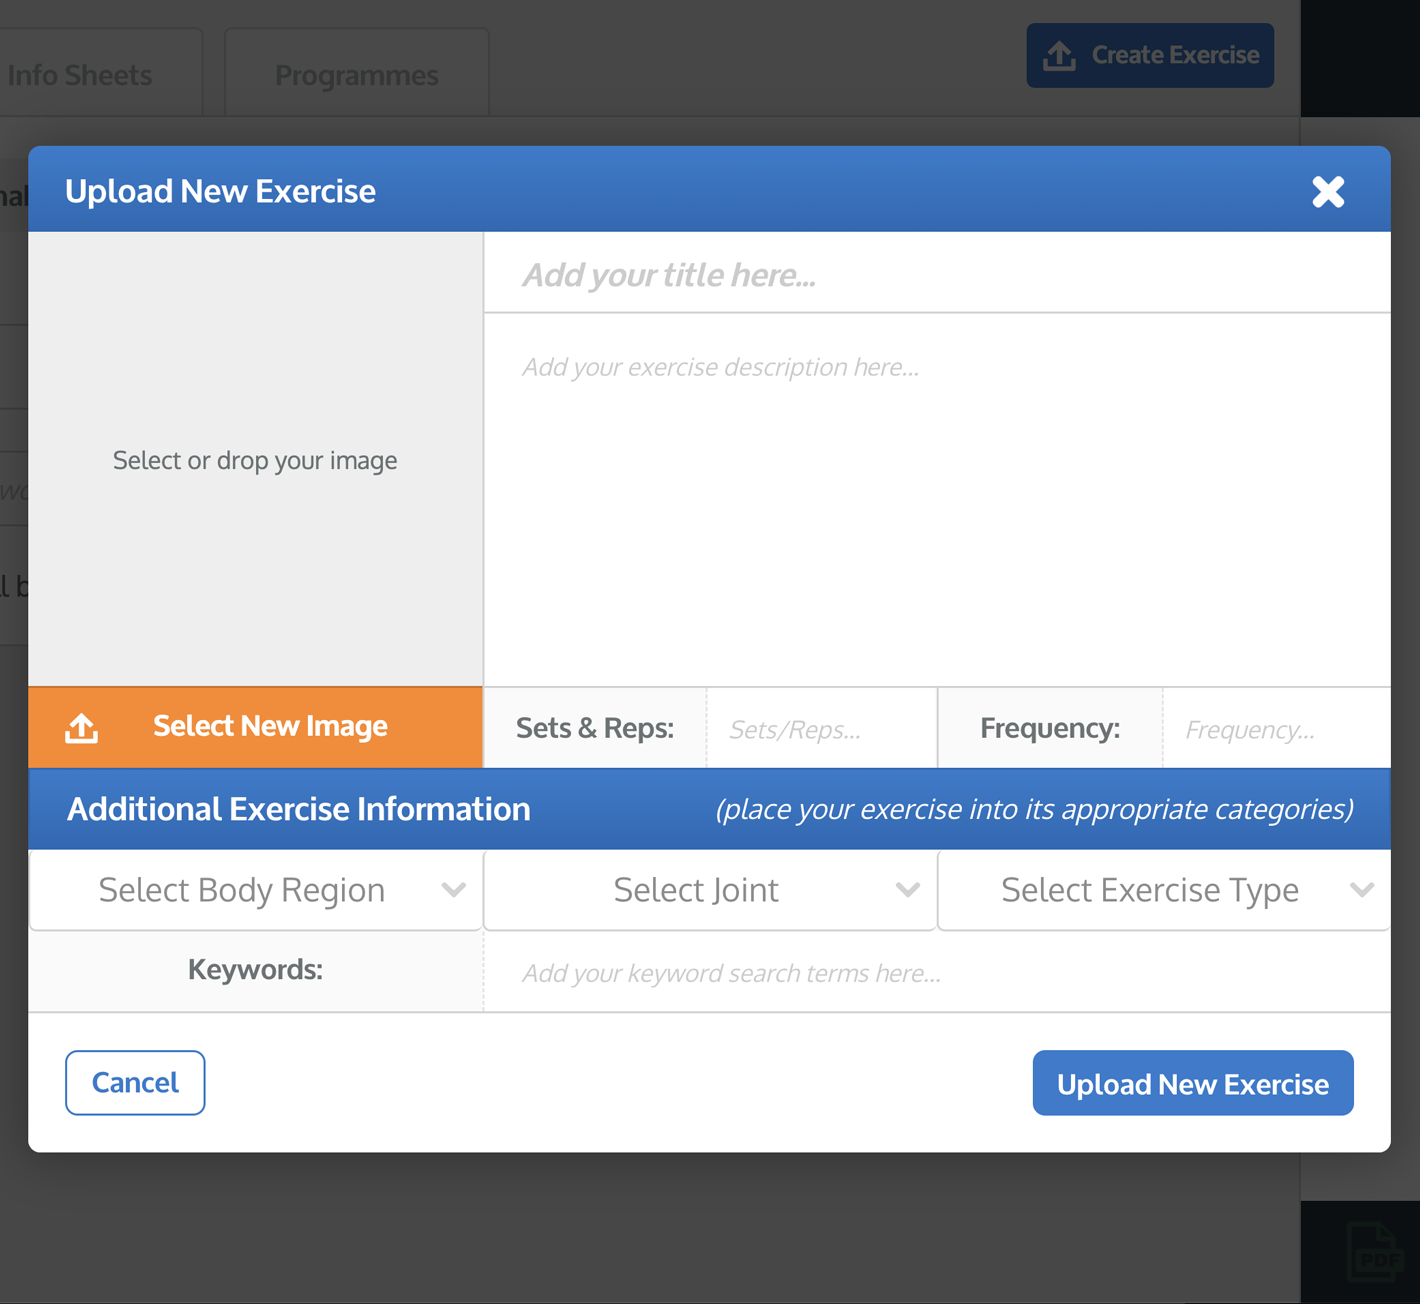
Enter an exercise title, the description, the sets and repetitions & frequency of the exercise to your liking.
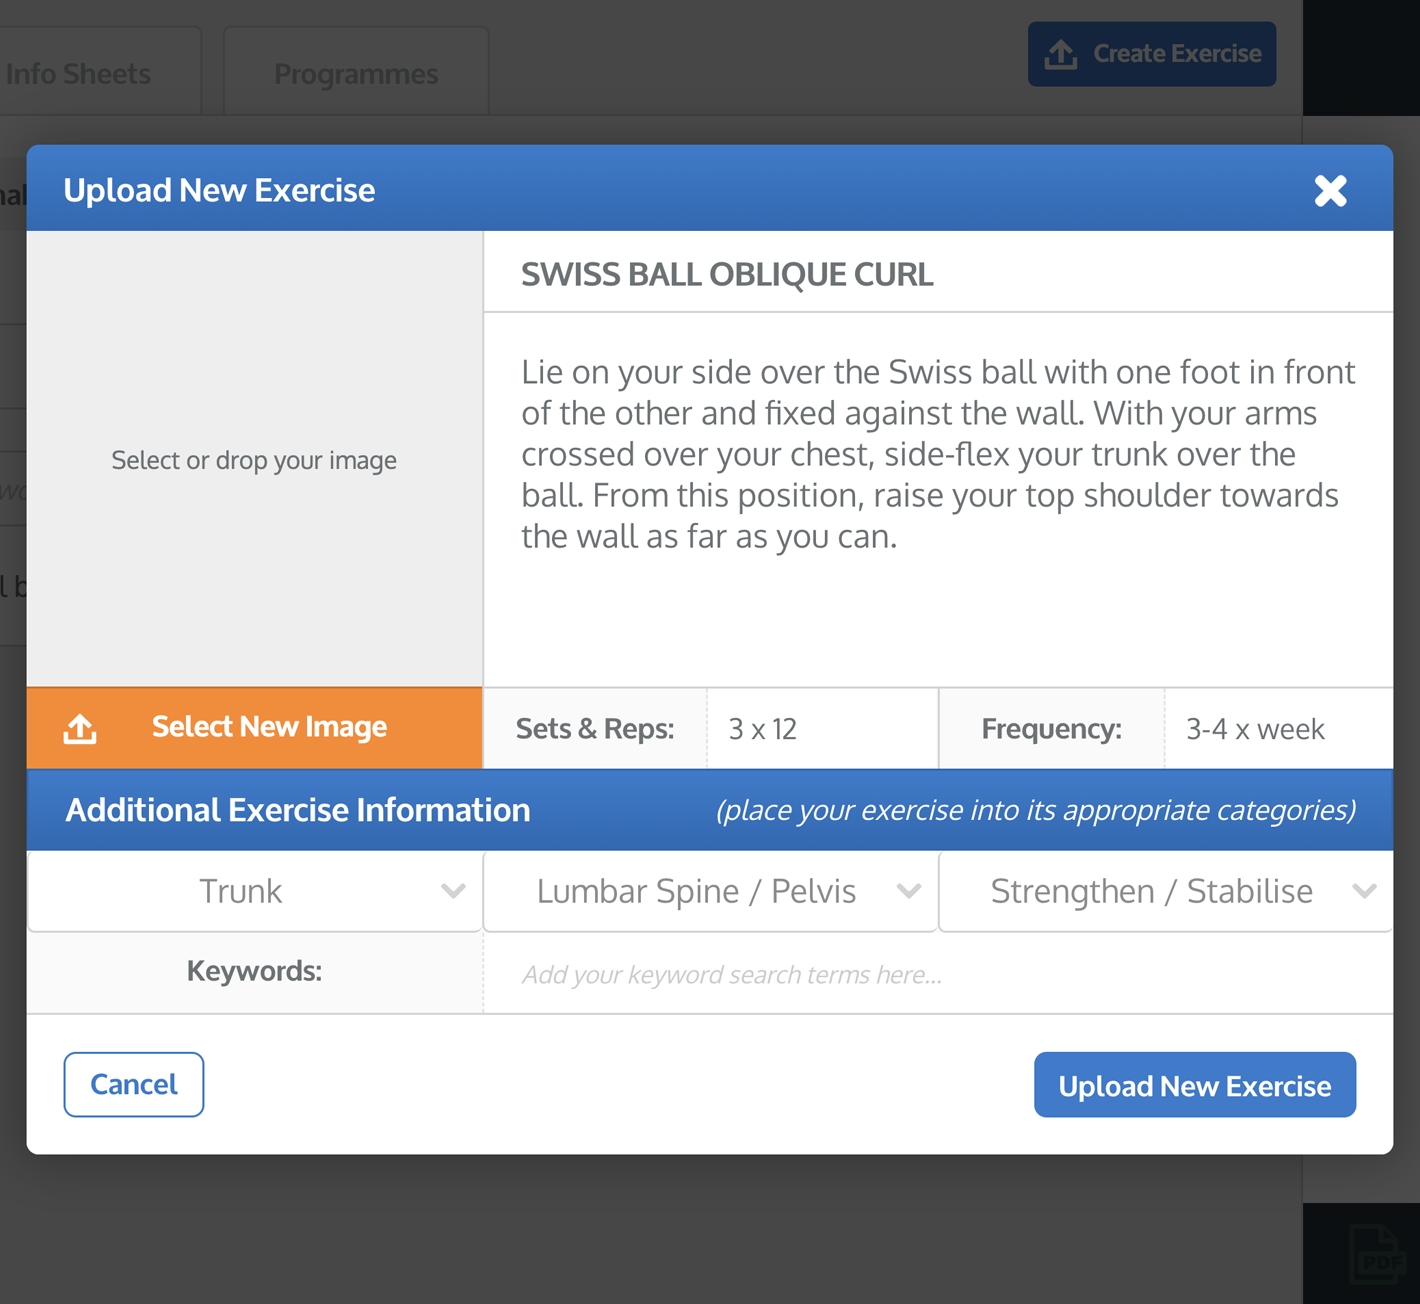
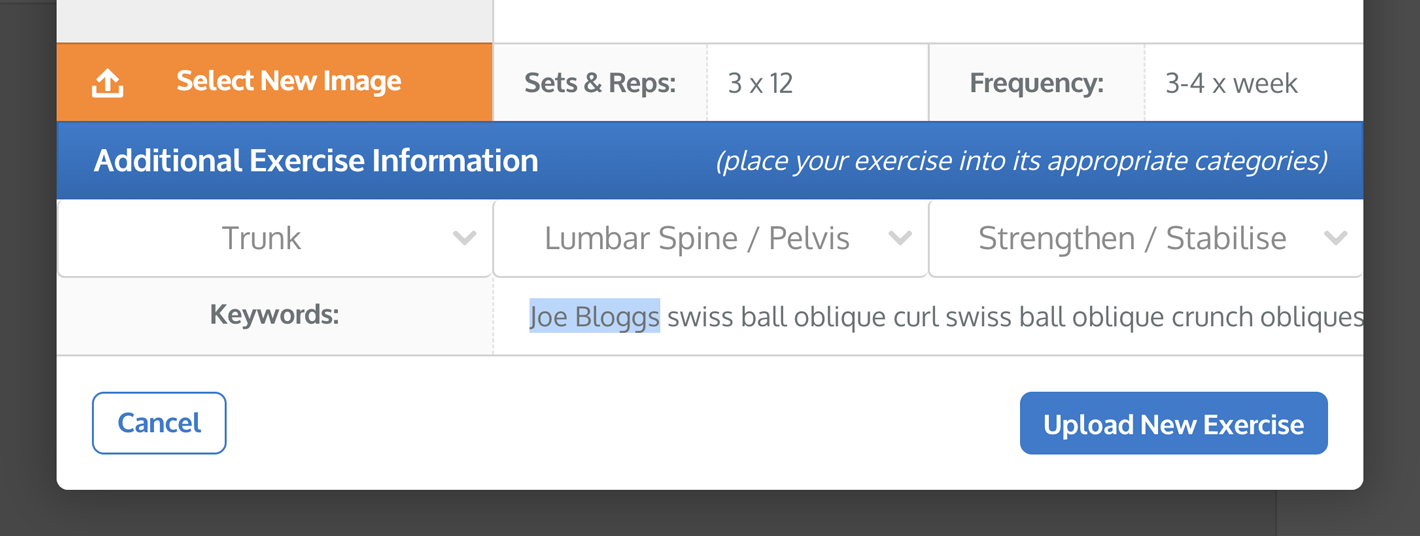
You can also edit the additional exercise information. The additional exercise information is used to categorise exercises into their appropriate body region, joint and exercise type and also add your own keywords to the exercise. These are important as they dictate how your exercise will be found when you search for the exercise in the future.
tip: add specific keywords to your custom exercise so you can easily and quickly find it when you search in the future (e.g. add keywords specific to the muscles being used, the joint movements, the equipment used or even your own name).
3. Upload an image
To do this, click the orange SELECT NEW IMAGE button located below the image preview on the left side of the window (or simply click the greyed out area displaying 'Select or drop your image'). This will open your computer's file browser window where you can locate and select the image you wish to upload to replace the exercise's current illustration.
note: If you are using an iPad/tablet, clicking the SELECT NEW IMAGE button will prompt you to either select an image from your camera roll or take a photograph with your iPad/tablet's camera.
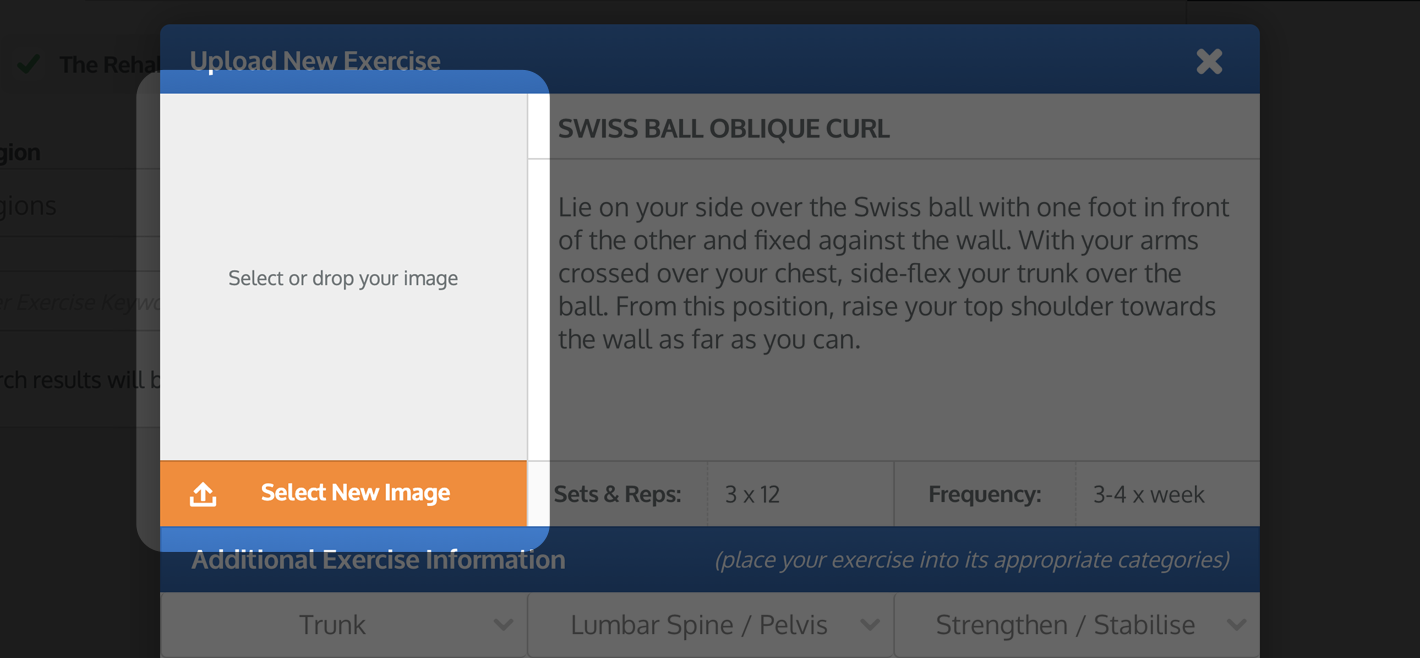
Once you have selected the image (or taken a photo), the CROP IMAGE window will appear. You can use this window to crop the image to the correct dimensions.
Your image will be cropped to the area displayed inside the visible square (the crop-area); and exclude areas of the image outside the crop-area (the blurred area). Drag the crop-area corners to enlarge or reduce the size of the crop-area and move the crop-area using the drag-handles on each side of the crop-area.
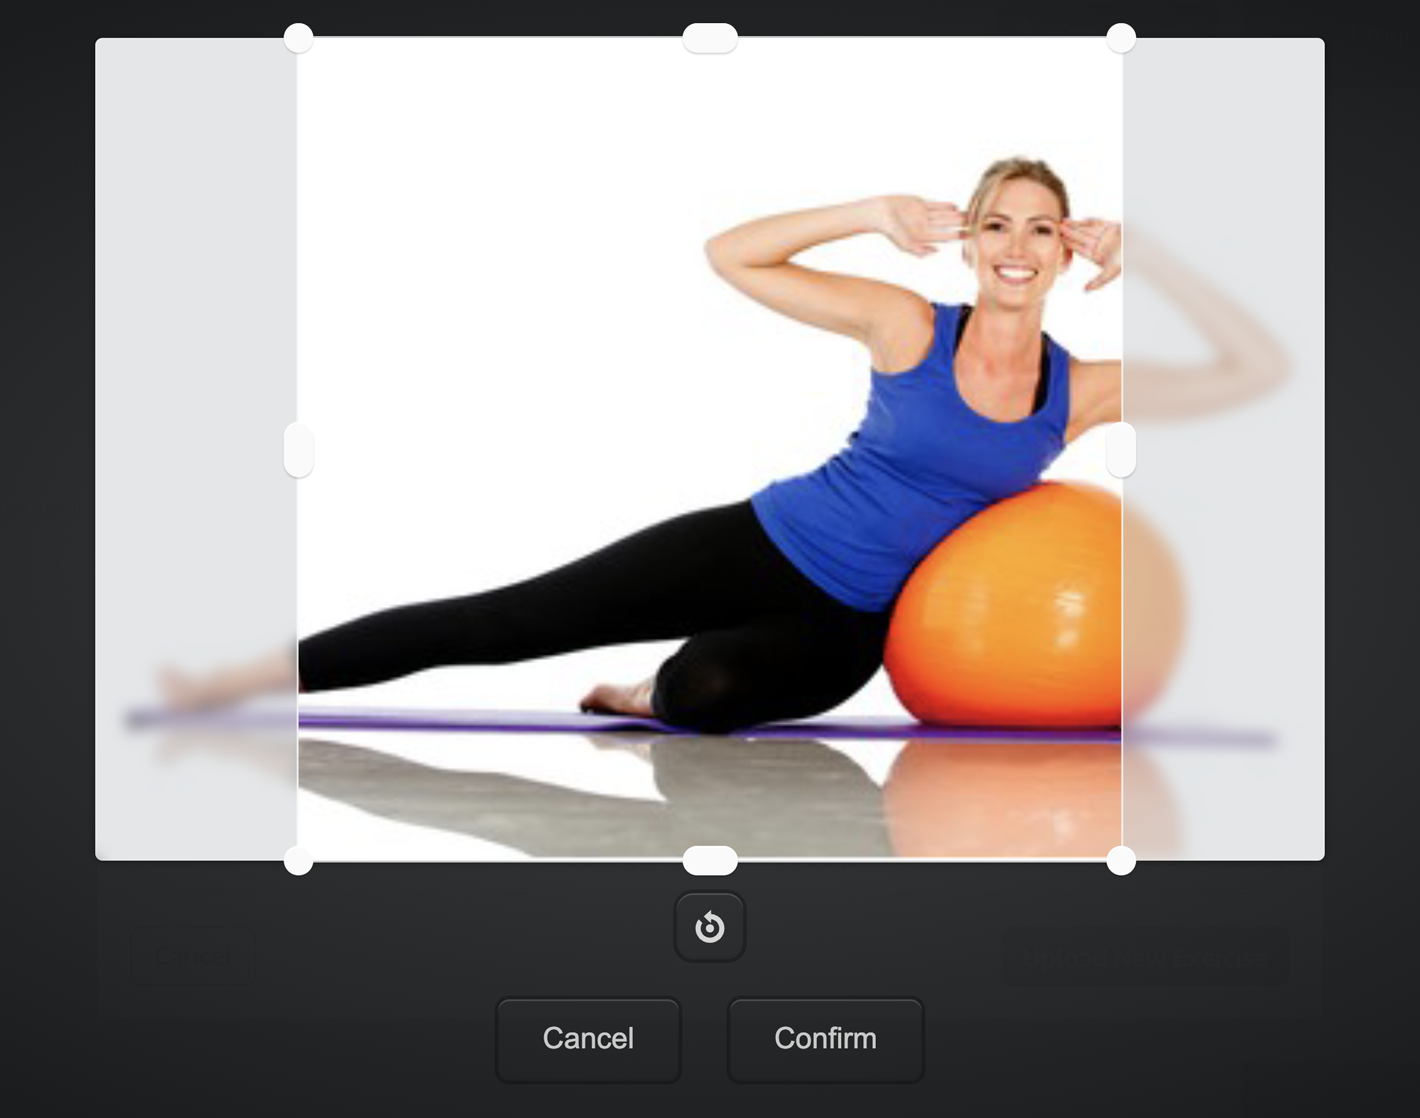
You can use the circles at each corner and side of the crop-area to increase or decrease its size. You can also drag the crop-area around the window. The blured part of the image outside the crop-area will be cropped-out of the image.
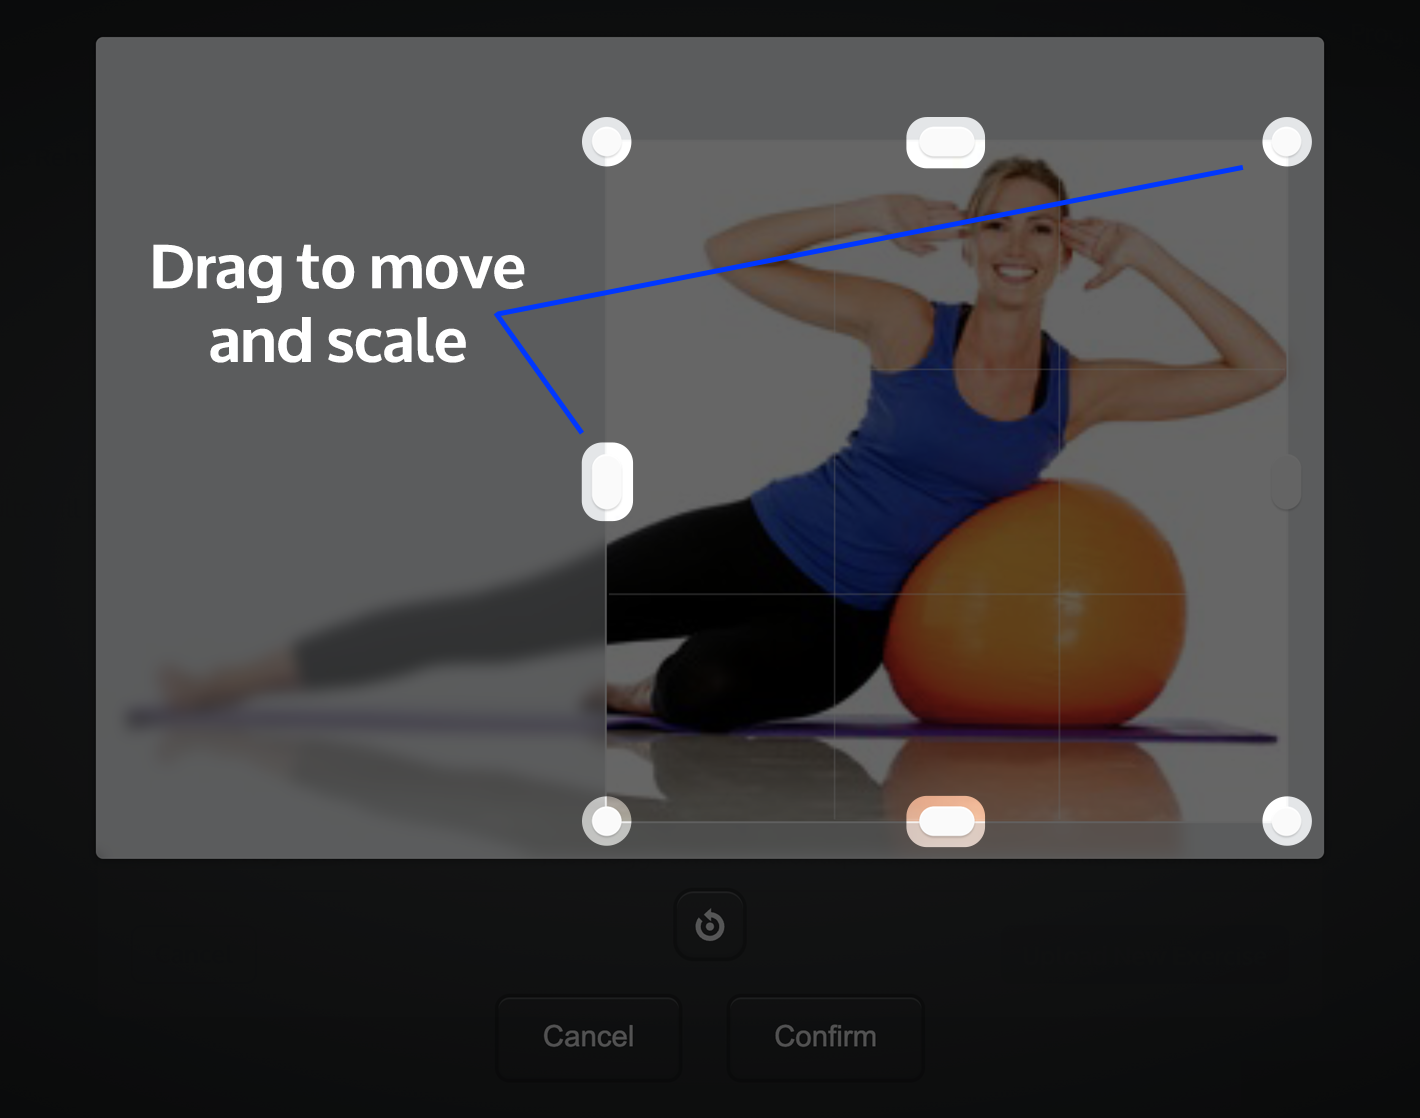
Once you are happy with your image cropping, click the CONFIRM button below the image. This will close the CROP IMAGE window and your cropped image will now be displayed in the image preview on the left of the window.

4. Upload your new exercise
Now that you are happy with the text you have entered and the image you have uploaded, click the blue UPLOAD NEW EXERCISE button at the bottom-right of the window. You have now uploaded a new exercise to your custom exercise database.

To find your newly added custom exercise in the future, simply select the MY CUSTOM EXERCISES check-box in the SELECT DATABASE search options on the EXERCISE search screen before clicking the SEARCH button.
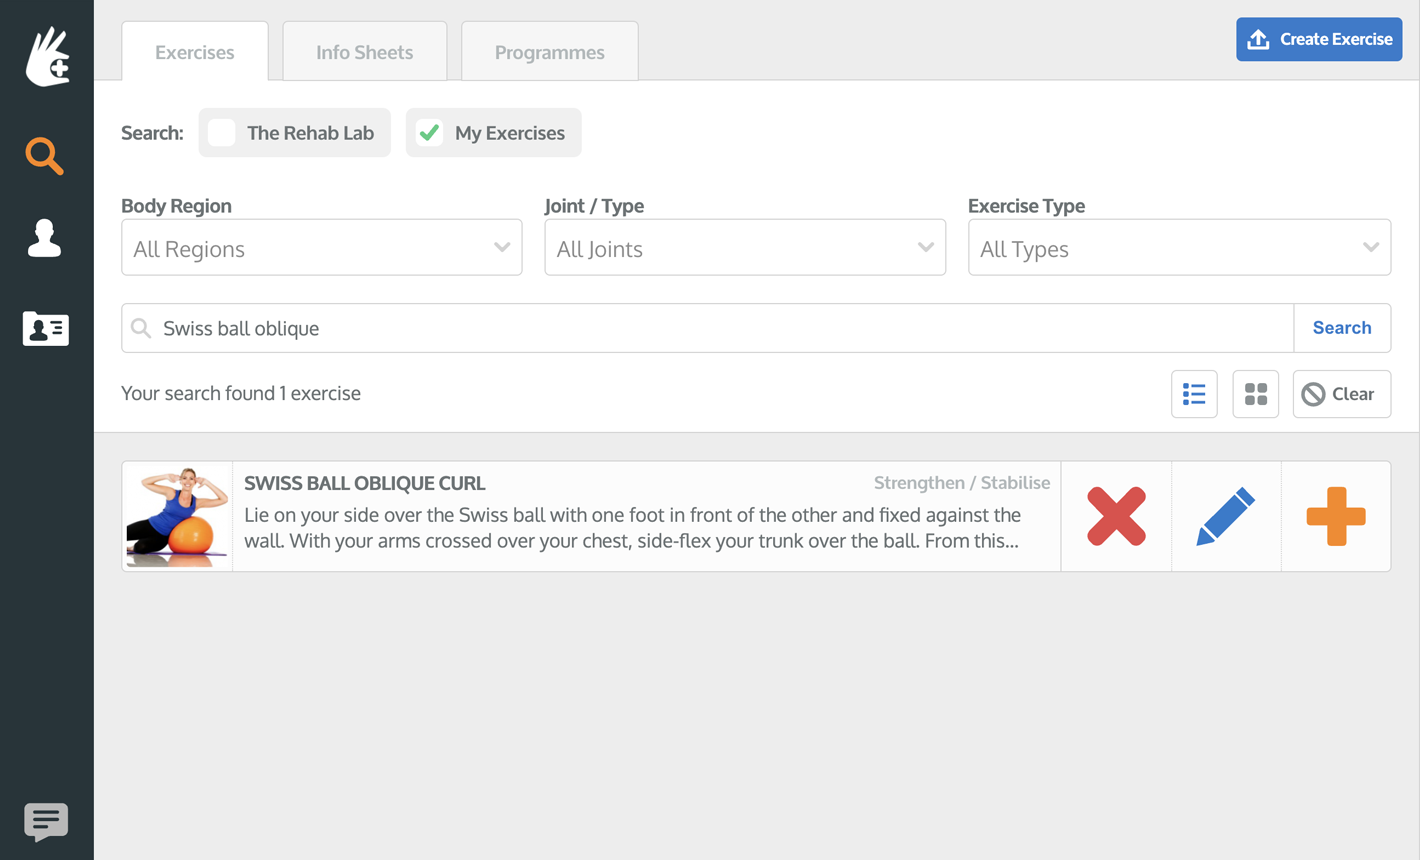
To learn more about searching, editing and deleting custom exercises, click the appropriate link below:
Creating a custom exercise
Editing a custom exercise
Deleting a custom exercise